How to Install Proxmark3 on Kali Linux

This article provides a comprehensive guide on how to set up the Proxmark3 on Kali Linux. Follow these steps to install the necessary drivers and software for your Proxmark3 device.
Introduction
The Proxmark III is a powerful tool developed by Jonathan Westhues for sniffing, reading, and cloning RFID (Radio Frequency Identification) tags. You can learn more about the device here.
Installation Prerequisites
Start by installing the required packages that will help support the installation of Proxmark3:
|
|
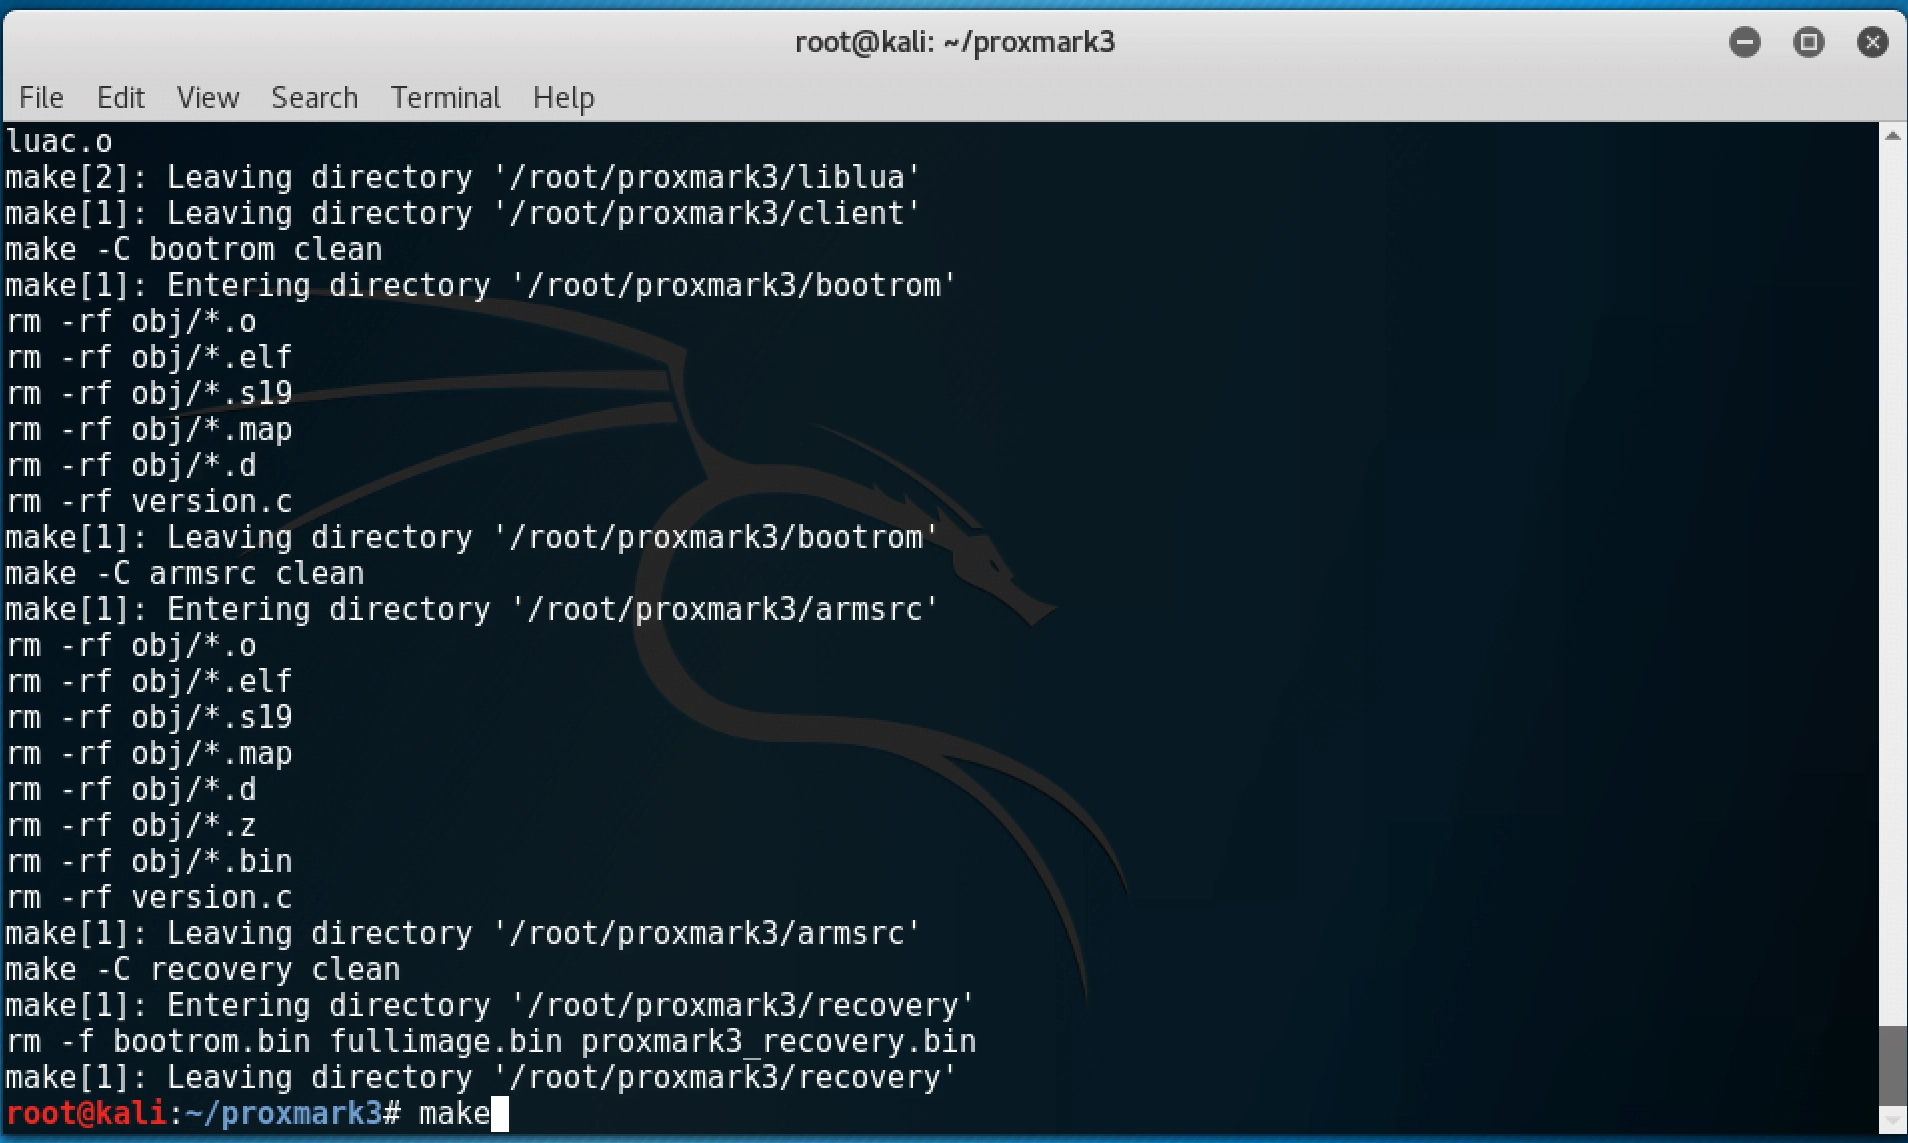
Install Proxmark3 Software
Once the prerequisites are installed, proceed to clone the Proxmark3 repository from GitHub and install the software:
|
|
Setting Up the Device
After installing the software, connect your Proxmark3 device to your Kali Linux machine. Kali Linux does not display new devices on the desktop like Windows. To check for the device information, use the following command:
|
|
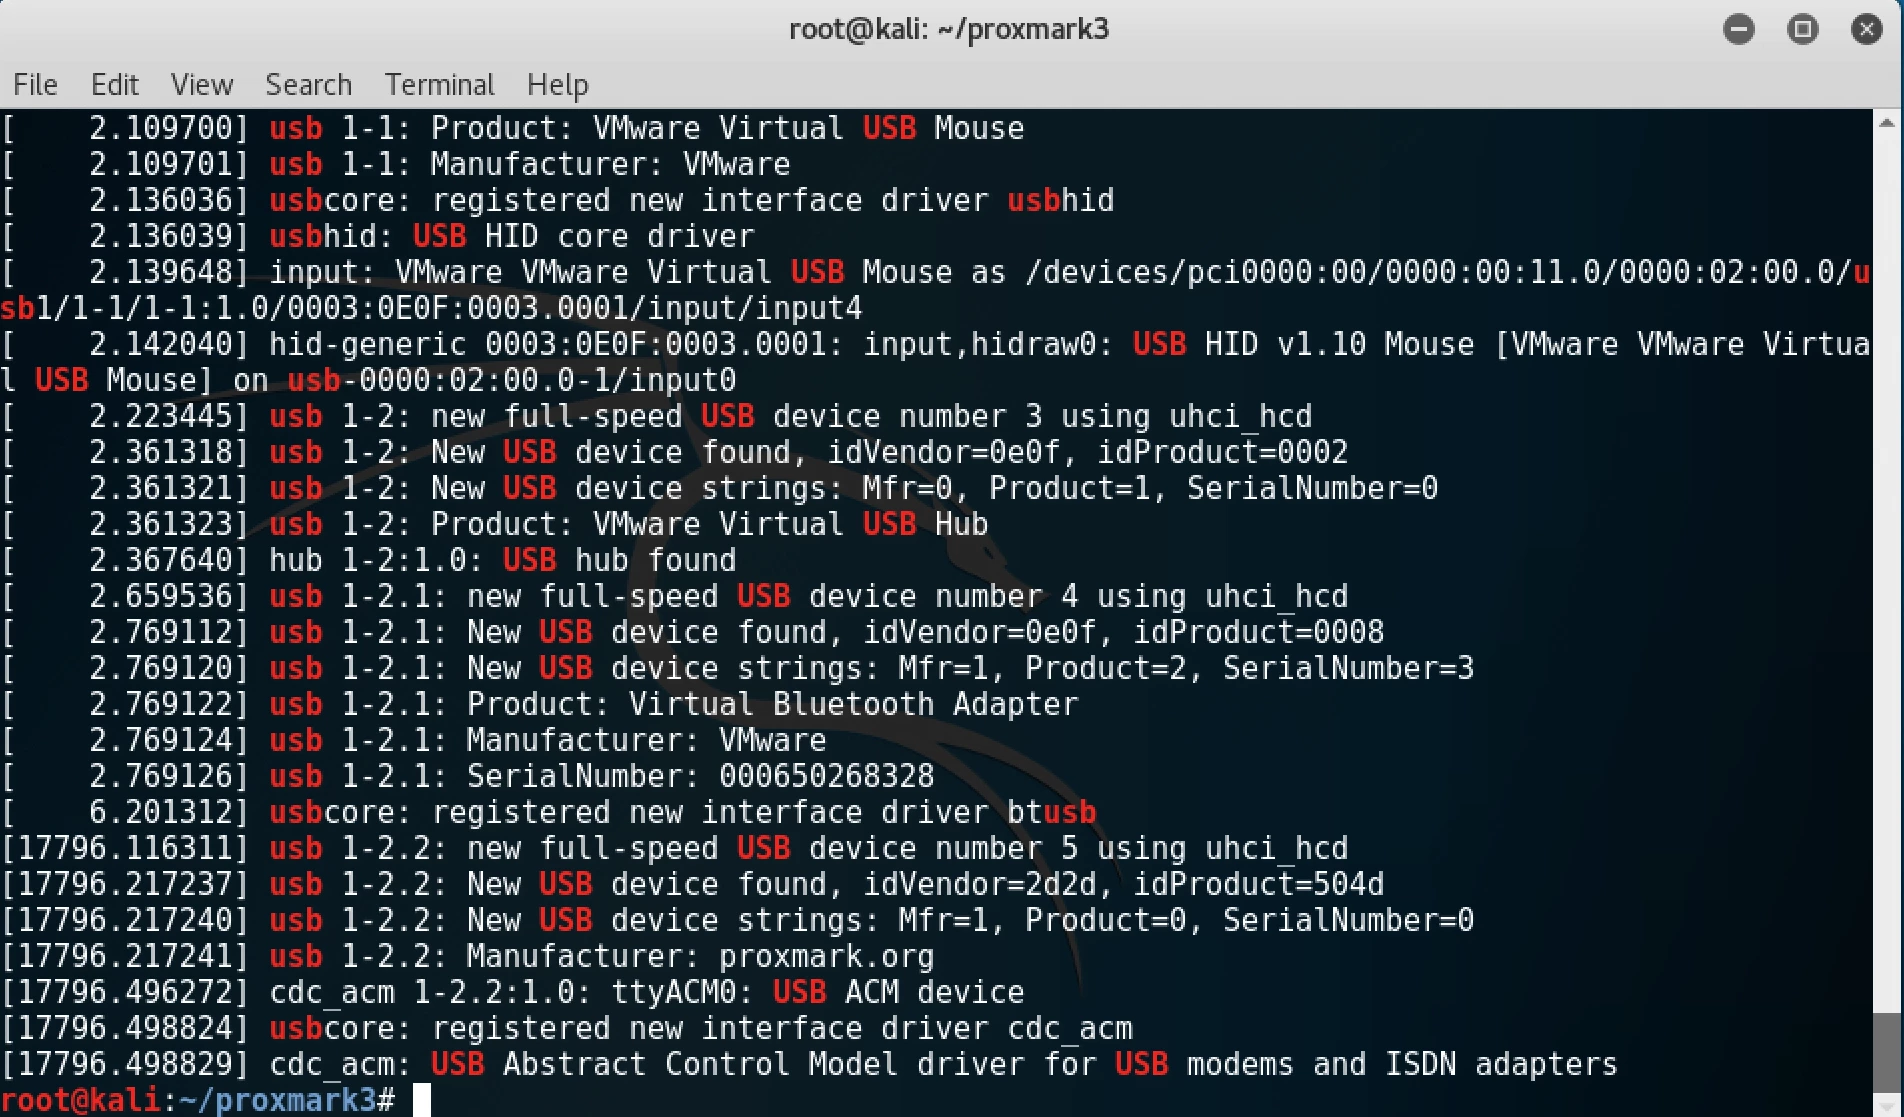
This command will list information about USB devices connected to your system. Look for entries related to the Proxmark3, which is typically identified as a CDC bootloader (cdc_acm) and usually appears as ttyACM0.
You can now start the Proxmark3 client application using the following command:
|
|

This guide covers the complete setup process for Proxmark3 on Kali Linux, from the installation of prerequisites to launching the client application. Ensure each step is correctly followed to guarantee a successful setup.